Creating a HubSpot AI Chatbot has never been easier. You can use the Punya HubSpot Importer to quickly transform your HubSpot Knowledge Base into a Customer Support AI in minutes.
After successfully creating the Punya Chatbot, use the simple instructions below to launch it on your HubSpot Chat.
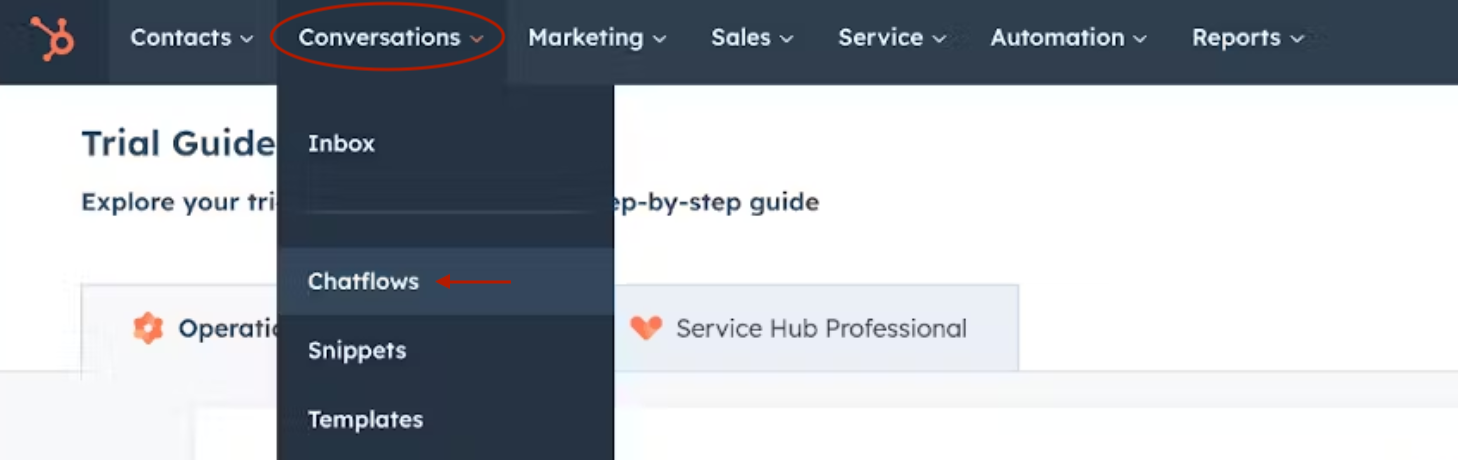
1. Sign in to your HubSpot and go to "Chatflows" section.
- Go to the HubSpot website (https://www.hubspot.com/) and sign in using your credentials.
- Then, click on the "Conversations" tab at the top of the page, then select "Chatflows" from the dropdown menu.
2. Create a new chatflow using "Start from scratch" option.
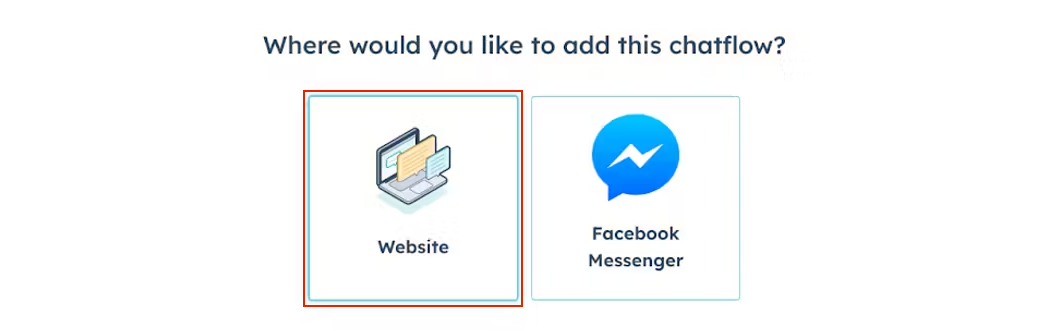
- Click on the "Create chatflow" button at the top right of the page to start building a new chatbot.

- Choose the channel: “Website”
- Click on the “Start from scratch” button and then click on the “Next” button at the bottom right of the page
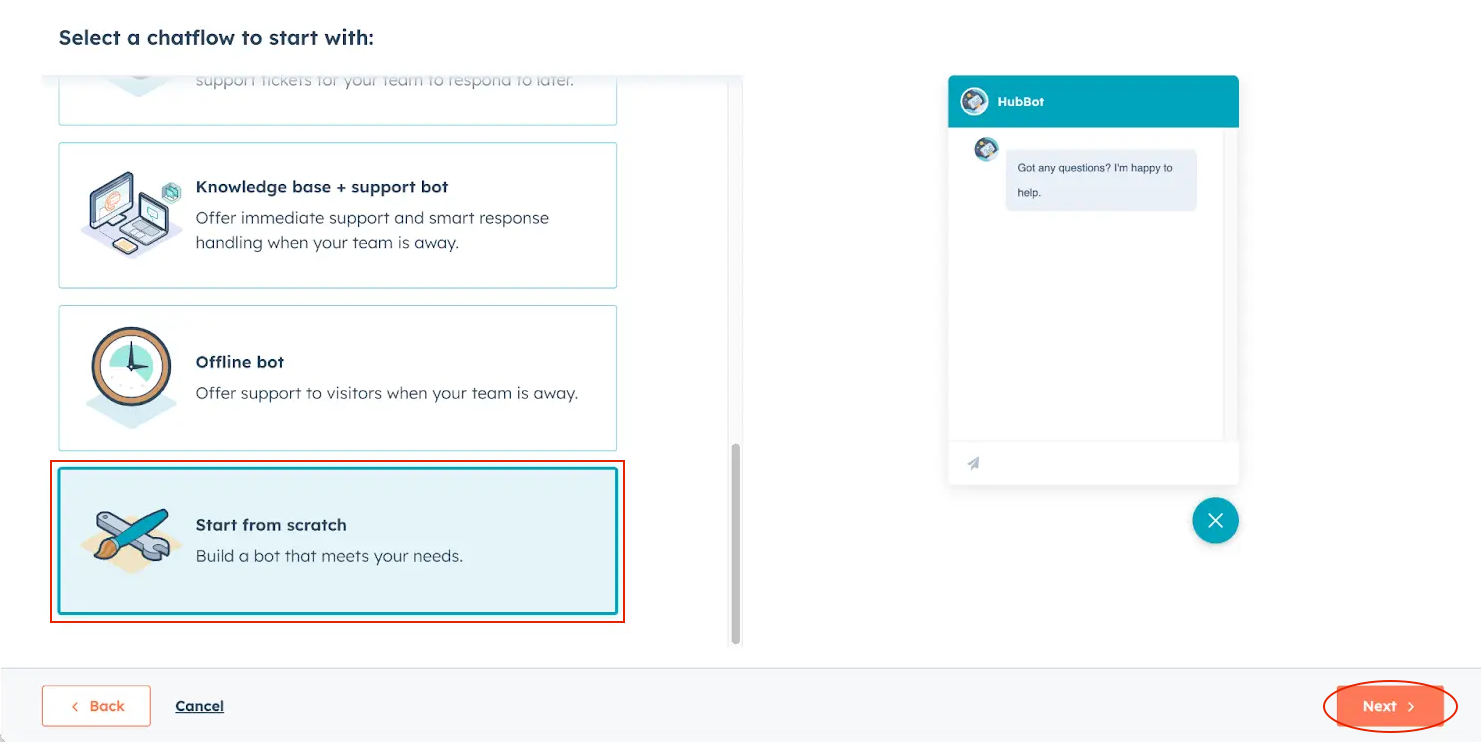
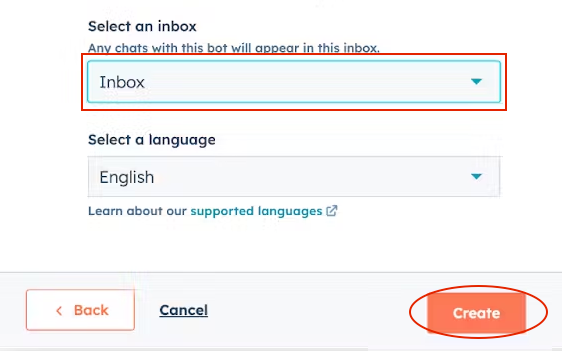
- Select an Inbox and a language. Then click on the “Create” button at the bottom right of the page.
3. After created a new chatflow, add a code snippet action with custom script below.
- Click the "+" button at the bottom, then select "Run a code snippet" from the menu.
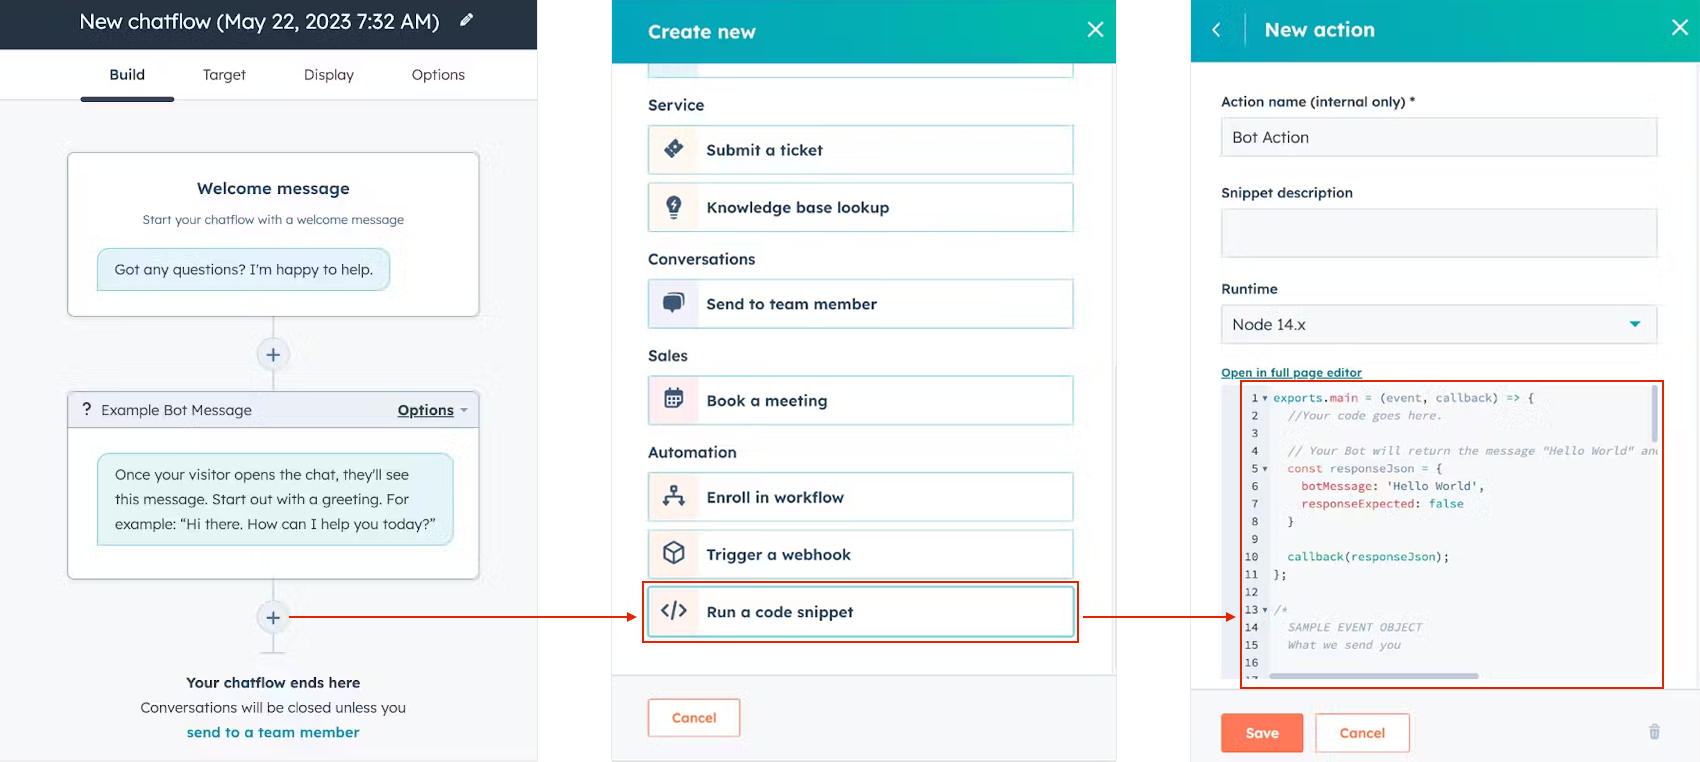
- Copy and paste code: Copy the provided code snippet below and paste it into the code editor. Click the "Done" button.
const request = require("request");

exports.main = (event, callback) => {
 const customState = event.session.customState;

 let history = [];
 if (customState.history) {
   history = JSON.parse(customState.history);
 }

 const options = {
   method: "POST",
   url: "https://api.punya.ai/v1/hubspot/chat",
   headers: {
     Authorization: "Bearer " + process.env['PUNYA_API_KEY'],
   },
   form: {
     text: event.userMessage.message,
     history: history,
   },
 };

 const handleResponse = (error, response, body) => {
   if (error) throw new Error(error);

   const parsedBody = JSON.parse(body);

   history.push({ role: "user", content: event.userMessage.message });
   history.push({ role: "assistant", content: parsedBody.message.content });

   const responseJson = {
     botMessage: parsedBody.message.content,
     responseExpected: true,
     customState: {
       history: JSON.stringify(history),
     },
   };
   callback(responseJson);
 };

 request(options, handleResponse);
};
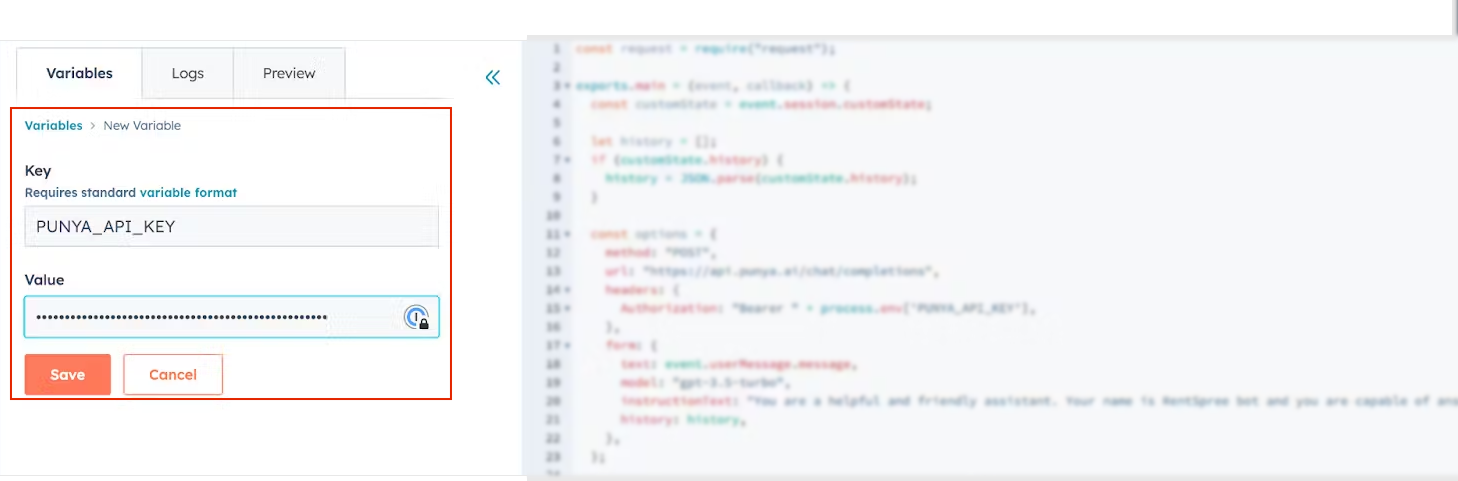
4. Add Punya API Key
Save the action block, open the full-page editor again, and go to the "Variable" tab in the left sidebar. Click "Create a variable".

- From there, enter information below:
- Key: Enter PUNYA_API_KEY as the variable key.
- Value: Enter your Punya API key that you received from Punya portal into the value field, then save it. Note that your API key is a secret. Do not share it with others or expose it.
You're all set! Now it's time to preview and launch your bot.
- Preview your chatbot: Go to the "Preview" tab in the left sidebar. Type a message and click the send button to test the bot. Verify that you receive a response from the bot.

- Turn on the chatbot: Go back to the chat flow design page and click the toggle switch to turn on the bot chatflow.

Those are all the steps required, and your Punya Chatbot is ready to serve your customers. Please let us know if you have any questions at admin@punya.ai. Thanks!

About Steve Norman
Revolutionize your AI applications with Punya: an AI-powered chatbot and analytics platform. For business inquiries, please email admin@punya.ai.